How To Create a Custom Pos Receipt For Small Retail Stores Online
By Rizwan ·
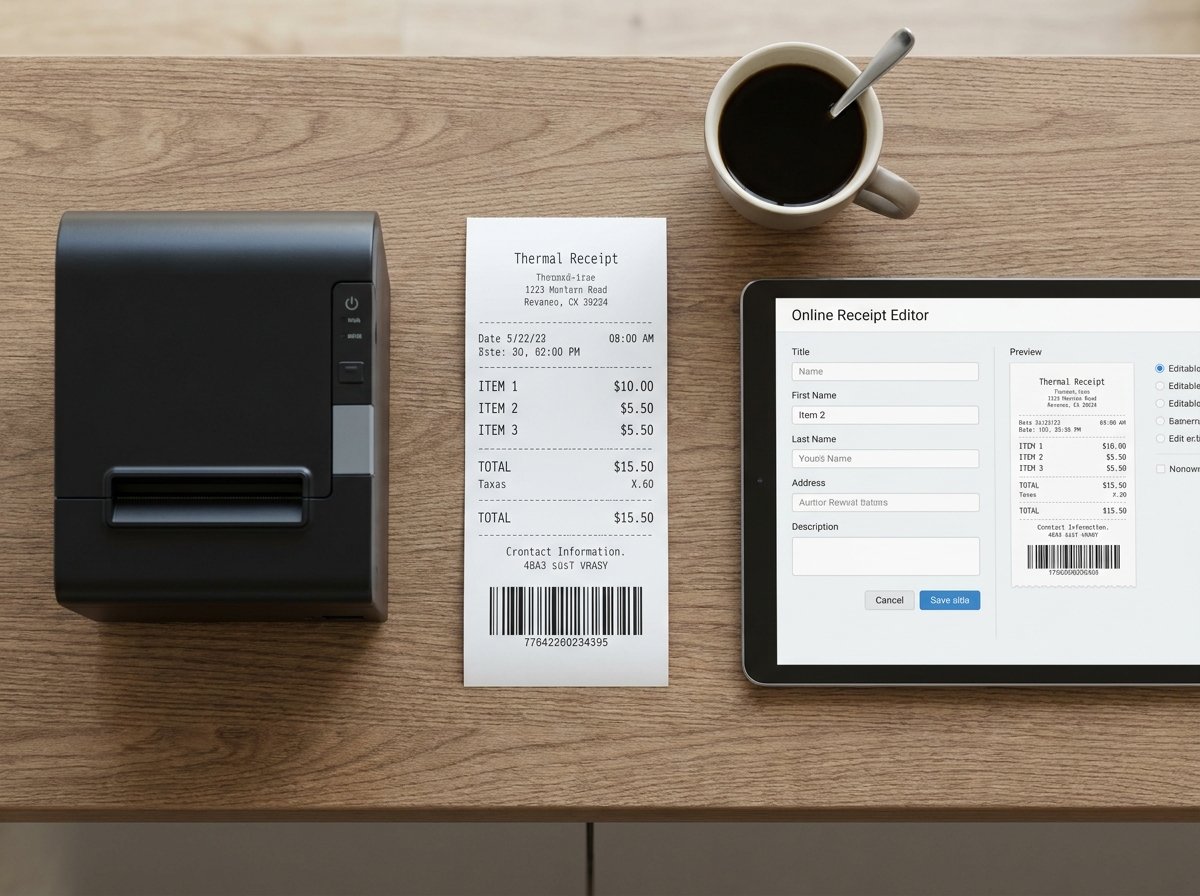
For small, independent businesses whether a boutique corner grocery, local coffee bar, or specialty retail store a printed receipt is often the last physical touchpoint a customer has with your brand. Yet, traditional point of sale systems can be rigid, expensive, and difficult to format when you need clean, on demand receipts for custom orders, cash sales, or popup markets. Learning how to build a clean, custom thermal receipt online solves these headaches quickly, without demanding heavy software installations or proprietary hardware locks.
Key Components of a Legitimate Retail Receipt
A professional POS receipt balances compact dimensions with thorough transactional transparency. Whether you operate under US sales tax guidelines or European VAT systems, every customer receipt should feature five core structural sections:
- Header & Business Identification: Clear store name, physical shop address, phone number, and official tax identifier (such as an EIN, Federal Tax ID, or VAT registration number).
- Register & Transaction Meta: Date and timestamp, register/lane number, cashier identification, and a sequential receipt tracking number.
- Itemized Line Items: Quantity, SKU or product code, clear item descriptions, individual unit rates, and taxable flags (e.g., "T" for taxable goods, "F" for non taxable food items).
- Financial Summary & Multi-Tier Tax: Subtotal, state/local tax breakouts, optional tips or gratuities, applied item discounts, and a bold net total.
- Payment Execution & Audit Data: Payment method indicator (Cash tendered and change returned, or masked card digits alongside terminal authorization codes).
- Footer & Store Policies: Explicit return windows, exchange disclaimers, and optional survey URLs or verification barcodes.
Thermal Paper Sizing: 58mm vs. 80mm Standards
Before entering items into an editor, decide which physical paper width your counter hardware uses. Thermal rolls are measured in millimeters and constrain the maximum character count per line:
| Paper Format | Standard Width | Avg. Characters per Line | Primary Use Cases |
|---|---|---|---|
| 58mm (2-inch roll) | Compact / Pocket | 30 – 34 characters | Mobile Bluetooth printers, food delivery carts, parking citations, quick service stalls. |
| 80mm (3-inch roll) | Standard POS Counter | 42 – 48 characters | Supermarkets, clothing boutiques, pharmacies, itemized hardware invoices. |
| 112mm (4-inch roll) | Wide Format | 64 – 72 characters | Warehouse manifests, equipment rentals, multi column industrial receipts. |
Step by Step: Building Your Custom POS Receipt Online
Using our browser based receipt editor, you can assemble, preview, and download realistic, print ready POS slips in minutes. Here is the operational workflow:
Step 1: Input Store Details & Tax Identifiers
Expand the Business details panel. Enter your trading name, physical address, and direct customer service phone number. If your local municipality requires tax reporting, enter your State Tax ID, EIN, or VAT registration number directly beneath the contact row. These elements automatically center at the top of the canvas.
Step 2: Brand Identity (Logo Selection or Upload)
Under the Logo module, upload your company's high contrast monochrome graphic or select a clean industry symbol from the built in monochrome gallery (such as grocery carts, coffee badges, or shopping bags). Pure black and white graphics ensure crisp lines on thermal paper without halftone blurring.
Step 3: Establish Transaction Metadata
Set your transaction timestamp under Date & Time. In the Order details panel, add a custom receipt or invoice number, assign your terminal ID (e.g., REG 02), and insert the attending cashier’s name. This creates an auditable record for daily register reconciliations.
Step 4: Populate Itemized Products, SKUs, and Discounts
Under Line items, add entries for each purchased product. For a retail grade layout, include:
- The exact purchase count (Quantity).
- An optional product code or inventory SKU.
- A concise product title.
- The line price, appended by a taxable indicator flag (such as
T). - Any promotional savings or item level discounts, which format indented beneath the item title.
Step 5: Apply Multi Tier Taxes, Gratuity, and Payment Mode
Under Totals & tax, set your primary sales tax percentage. If your area uses split municipal tax rates, define secondary lines for State and City levies. For dining counters, activate the gratuity field to log tips accurately.
Next, configure your tender method under Payment method:
- For Cash: Enter the amount tendered; the editor automatically calculates and displays the exact change due.
- For Card: Select your card brand (Visa, Mastercard, Amex), input the masked account digits (e.g.,
**** 4021), and provide standard approval details like terminal authorization codes and entry methods (e.g.,CHIP READorCONTACTLESS).
Step 6: Configure Return Policy, Barcode, and Visual Dividers
Add your operational return policy in the footer (e.g., "30-day exchange with original tags and receipt") to protect against chargeback disputes. Toggle on a Code-128 barcode or QR code populated with your internal transaction reference for rapid counter scanning. Finally, apply divider rules such as clean dashed lines, double solid bars, or blank spacers between sections to ensure a balanced, readable ticket hierarchy.
Best Practices for Printing from Web to Thermal Hardware
Once your layout looks sharp on the live preview screen, download your document as a high contrast PNG, JPG, or PDF file. When sending the file to your physical thermal receipt printer, follow these three settings to avoid print distortion:
- Set Margins to None: In the browser or PDF print dialog, set all page margins to Zero or None so the printable area matches the roll's physical edge.
- Disable Headers and Footers: Uncheck browser print headers/footers to eliminate unwanted page numbers or web URLs from printing on your paper roll.
- Match Target Roll Width: Ensure the printer driver paper dimension explicitly matches your editor canvas selection (58mm or 80mm continuous roll).